
Your Tiny Space, Big Weekend Studio
Choosing and Shaping Your Corner of Creativity
01
The Five-Step Space Audit
Walk your space at different times of day, note sunlight angles, outlet locations, ambient hums, and floor stability. Tape a rectangle on the floor and test tripod placement, chair movement, and cable reach. Photograph before and after to document improvements. A reader once discovered a buzzing fish tank that ruined takes—moving it one meter solved the issue. Drop your audit notes below, and let others crowdsource fixes you might miss.
02
Zoning Without Walls
Create invisible boundaries using rugs, painter’s tape, and rolling carts. A foldable table becomes a production desk, while a collapsible backdrop frame separates storage from shooting. Vertical shelves keep tools reachable yet off-camera. Define clear zones for capture, assembly, and cleanup to avoid mixing messy glue with delicate lenses. Readers who tried this report faster teardown times and fewer misplaced accessories. Share a photo of your zones to inspire practical layout ideas.
03
Safety, Ventilation, and Neighbors
Good studios stay friendly to lungs, ears, and relationships. Position fans to cross-ventilate when painting or soldering, and consider a small carbon filter if fumes sneak in. Door sweeps mute hallway noise, while cushioned chair feet keep downstairs neighbors calm. Avoid daisy-chained power strips and route cables away from walking paths. Provide a simple schedule on your door to prevent interruptions. Tell us your constraints, and we’ll suggest quiet, safe adjustments.
Light That Works Every Weekend

Sun, Curtains, and Reflectors
Budget-Friendly Three-Point Setup
Color Temperature and Consistency


Sound That Feels Close, Not Closed In

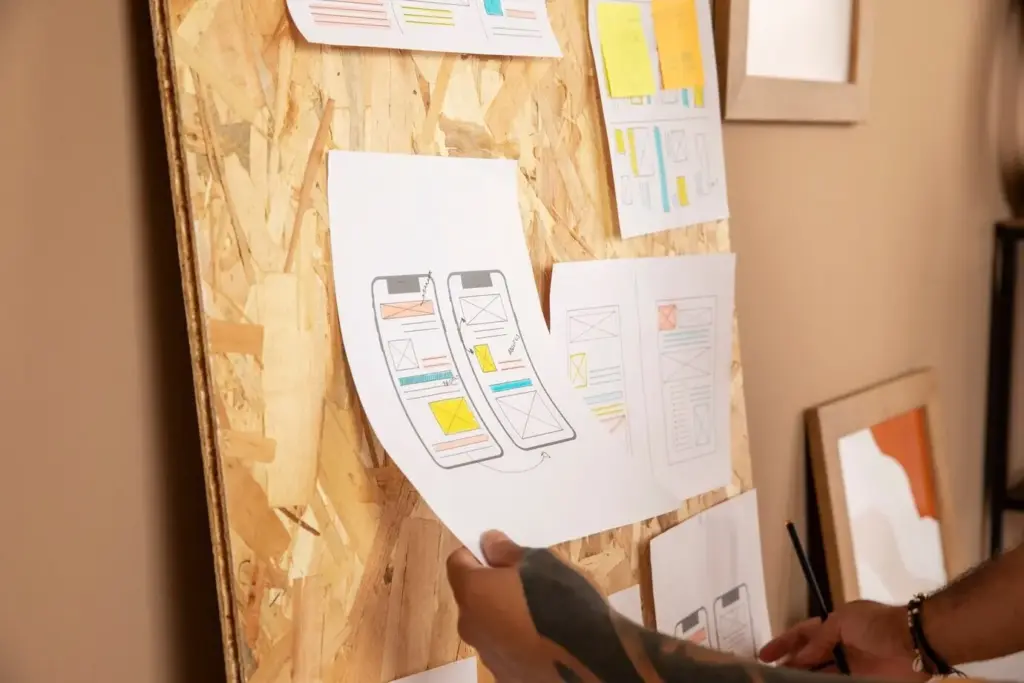
Cameras, Phones, and Angles That Tell the Story
Backgrounds, Surfaces, and Props That Support the Story
Quick-Swap Backdrops
Mount fabric or paper on a curtain rod with clips for instant changes. Label rolls by color temperature friendliness and cleaning instructions. Keep a neutral gray, a warm beige, and a tasteful color accent. Iron or steam before shooting to dodge retouching later. A reader uses foam boards with peelable vinyl for super-fast swaps. Share your storage constraints, and we’ll recommend a rotating kit that stores under a bed or inside a closet.
Tabletop Magic
Create a portable tabletop using a plywood panel wrapped in vinyl or contact paper. Use contrasting cutting mats for precision shots and a reclaimed wood plank for lifestyle scenes. Add small risers to separate objects from the background and reduce shadows. One maker’s jewelry sparkled after elevating pieces an inch. Describe your product size and glare issues, and we’ll propose surface mixes that turn quick weekend sessions into professional-looking photo and video sets.
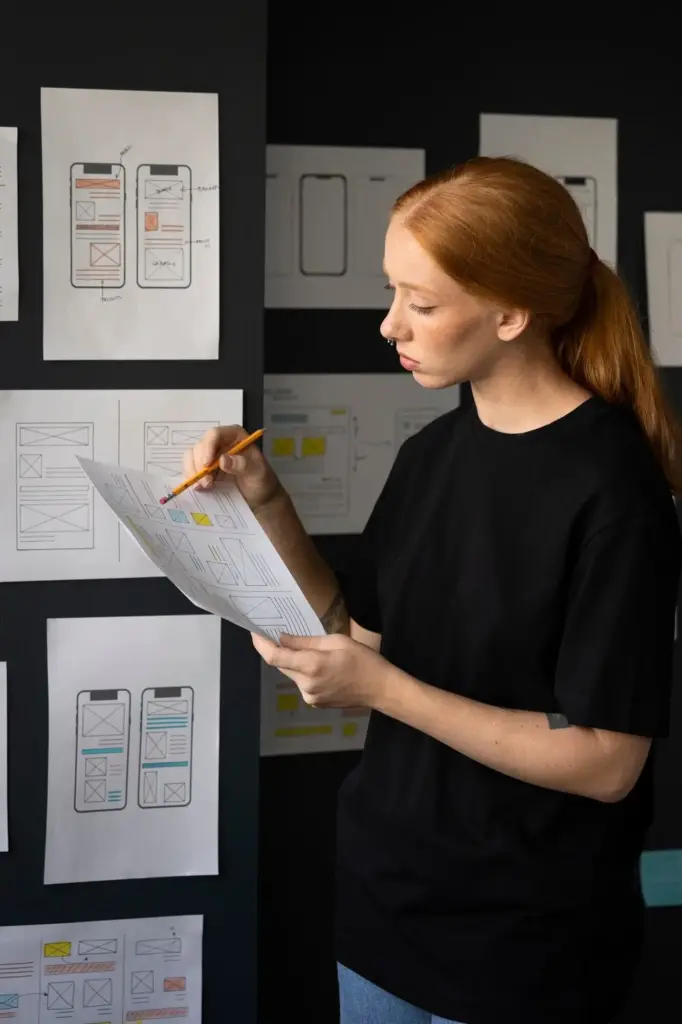
Styling With Purpose
Select props that explain process or scale: a pencil, a ruler, or a jar of brushes. Keep colors harmonious and remove labels that distract. Place items in triangles for balance, leaving space for captions. Adjust one element at a time to see cause and effect. A knitter boosted saves by adding a measuring tape for context. Post a sample frame, and we’ll coach subtle adjustments that guide viewers’ eyes where you need them.
Workflow, Power, and Storage That Survive Monday
Weekend Sprints: Plan, Capture, Share, Repeat

All Rights Reserved.